How to Program C# in Visual Studio Code
Developing C# in Visual Studio Code is simple, doesn’t cost anything, and offers a great cross-platform developer experience.
Installing the C# Dev Kit Extension
Open Visual Studio Code and install the C# Dev Kit extension. It’s the only extension we need and provides everything we need to develop C# applications.
After the installation, the Welcome screen allows you to connect your Microsoft account, install the .NET SDK, and create new .NET projects.
You can use the dotnet —version command to see if you already have a .NET SDK installed. Otherwise, make sure to install the current version.
dotnet --version
7.0.400-preview.23330.10
Creating and Running a Console Application
We can use the CTRL+SHIFT+P shortcut to open the command palette. The C# Dev Kit extension added new commands, including the .NET New Project command. We use it and select the console application project type.
If you haven’t opened a directory, Visual Studio Code will ask you where it should create the project. We can also provide a project name.

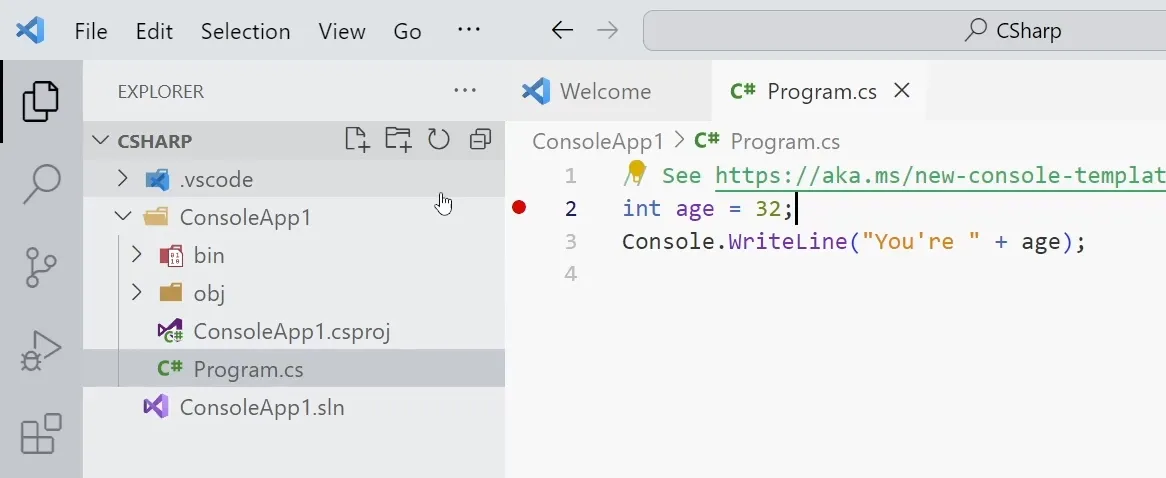
The extension creates a project (ConsoleApp1.csproj), including a Program.cs file and a solution file.
In the Program.cs file, we change the code from “Hello World” to “Hello from Visual Studio Code!”.
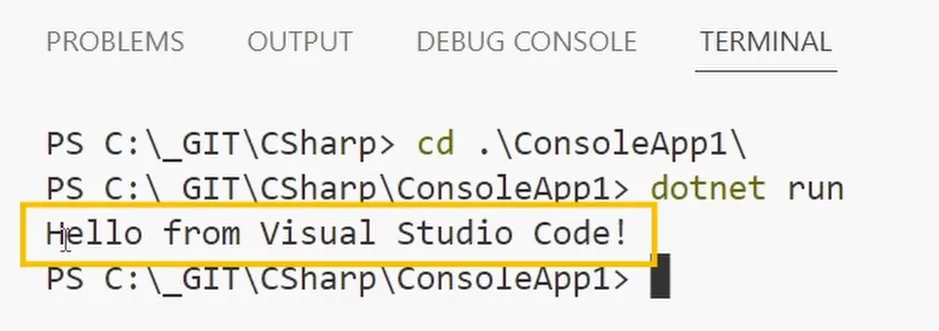
We open a terminal and change directories into the project folder. Next, we use the dotnet run command to execute the console application.

As you can see, the text “Hello from Visual Studio Code” appears in the output.
Debugging C# with Visual Studio Code
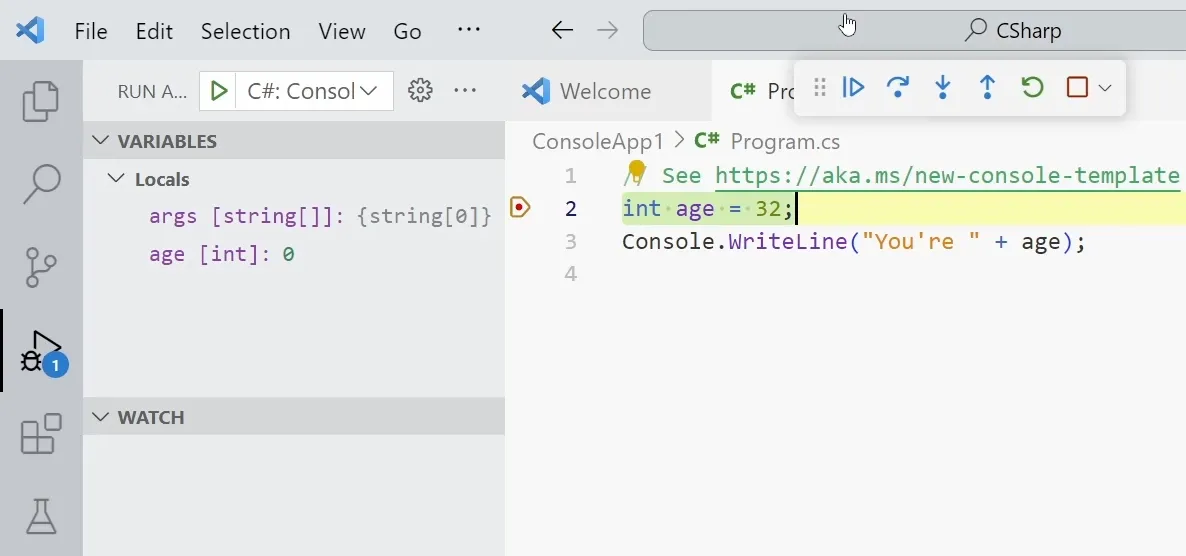
Let’s quickly extend the example. I define an int variable named age and assign 32. Next, I print the value to the console. I click on the left of the row number to set a breakpoint.

Next, I open the Run and Debug menu, press the Show all automatic debug configurations button, and select the console application. The user interface changes, and we can use the green Run button to launch the application with a debugger attached.

We can navigate the code using the visual overlay or using keyboard shortcuts.
Code Navigation & Code Snippets
The context menu provides us with different options. For example, we can use the Find All References command. We can also use different shortcuts, such as F2, to rename a variable in the whole code file.
The C# Dev Kit provides many helpful features that enhance the developer experience.
If you want even more help, you can install the GitHub Copilot extension, which is also available for Visual Studio Code.
We can also use code snippets that come with the C# Dev Kit extension. For example, we can use the try snippet to generate a try-catch code block. There are additional snippets to create classes, constructors, properties, and much more.
We can use the CTRL+T shortcut and search for code symbols. For example, we can jump to classes, properties, or different code files.
Creating a Blazor Server Application
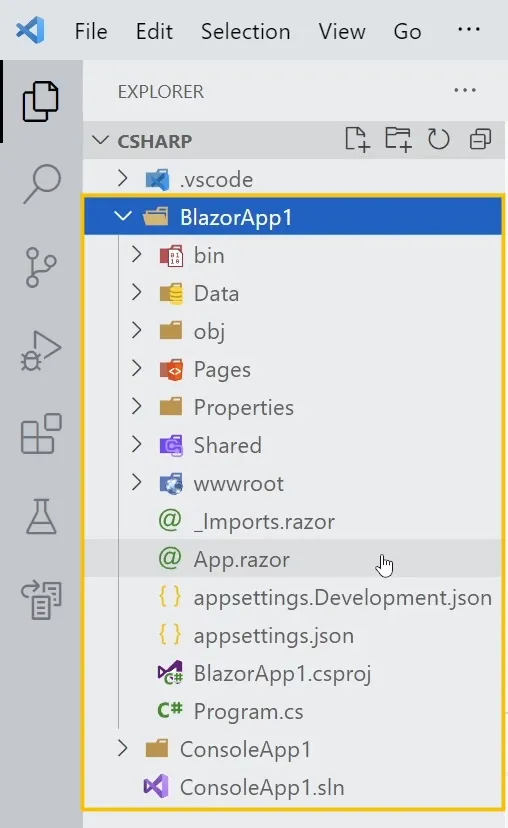
It’s great for a simple tutorial, but does it also work for production use cases? Well, let’s create a Blazor Server application using the command palette.

Visual Studio Code generated a whole Blazor Server application for us. We can compile and run the web application using the dotnet run command.
Let’s make some changes to the code. As you can see, right now, they are not reflected in the browser.
Let’s stop the application and use the dotnet watch command instead. It will launch the web application in the browser again. But this time, when I change the code in any Blazor component and save the file, the changes are instantly reflected.

Pretty cool, right?
Conclusion
As demonstrated, we can use Visual Studio Code to develop modern .NET applications.
The C# Dev Kit extension provides us with a command to create a new project inside Visual Studio Code, adds code snippets, and allows us to conveniently navigate and change the C# code.
Drop your excuses and start developing C# applications.
Consider subscribing to my YouTube channel to learn more about .NET development.
PREMIUM CONTENT
